The goal of this project is to get familiar with c++ and learn the basics of computer graphics. View design on google drive
- Multiple plane and sphere objects
- Multiple lights
- Matte material, has only diffuse and ambient.
- Phong material, has also specular using Bling-Phong.
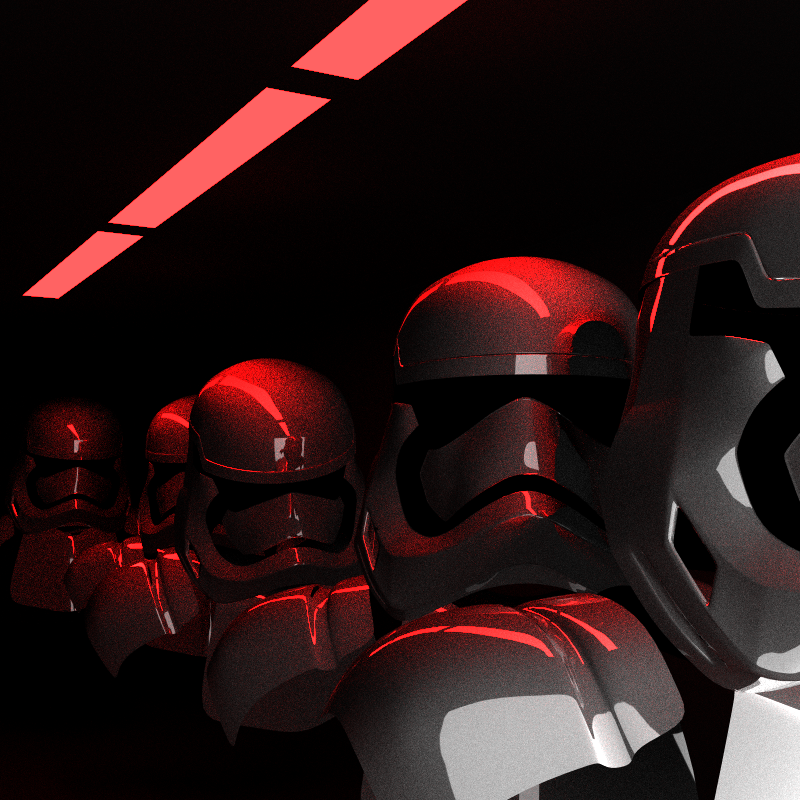
- Reflective material. Perfect mirror and glossy reflections.
- Aliasing using random pixel sampling.
- Ambient occlusion
- Area Lights/Soft shadows.
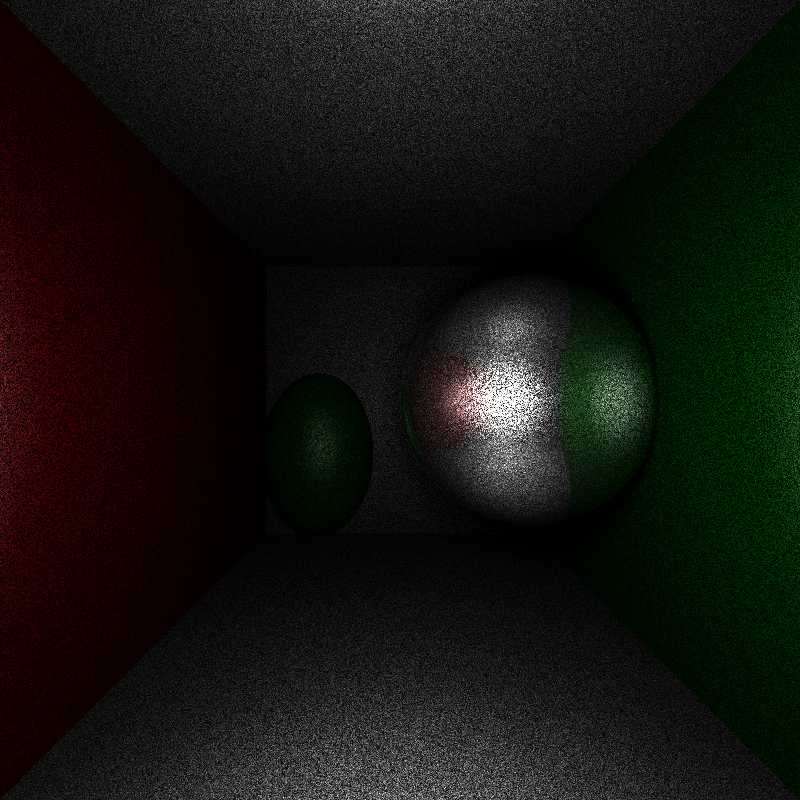
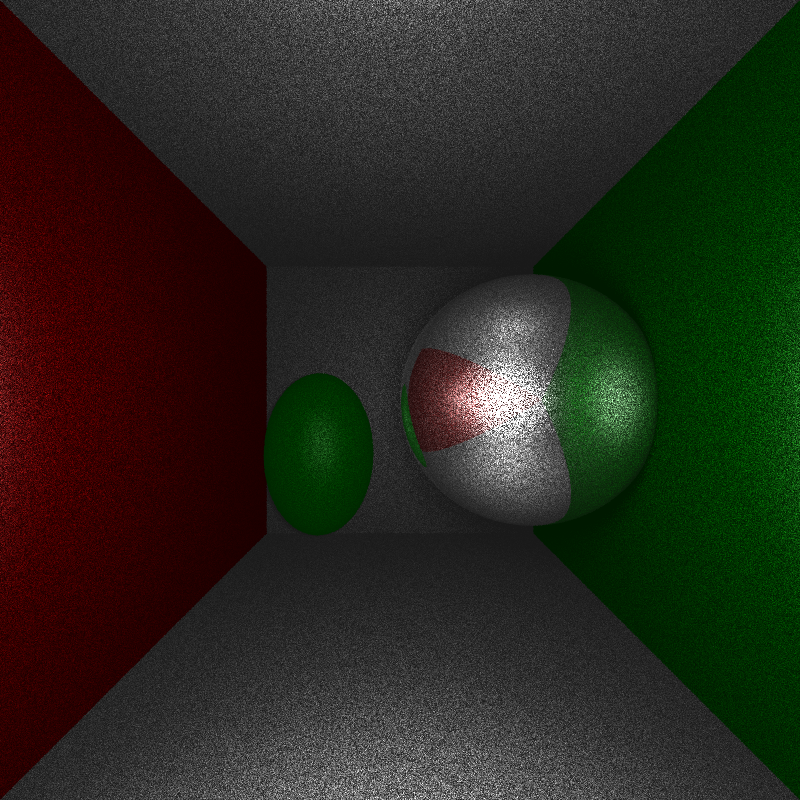
- Global illumination.
First kind of reflection is the perfect mirror. Perfect reflected rays are cast recursively in the world. This calculates the incoming light.
Since most objects don't have a perfect reflective surface I've implemented glossy reflections (the reflection is blurred out). To achieve this effect multiple rays (samples) are cast randomly along the perfect reflective vector. We can control the blur using a glossy factor. A larger factor means a more perfect reflected surface. More info on glossy reflections can be found in the sample chapter of Ray tracer from the ground up
Ambient occusion let us variate the ambient color an object receives by checking how much of the hemishere above a hit point is blocked. Each scene has an ambient light class that samples random directions on the hemisphere and checks if this direction is blocked.
Removing the pixelated effect of sharp edges. For this I used per pixel sampling, cast multiple rays randomly spread in each pixel. This doesn't give us the best result, because rays can group together, but it's easy to understand.
There is support for transforming objects using a transformation matrix. This is used in combination with instancing (resusing objects with diffrent transfomations), This limit memory usage.
THis project contains several BRDFs which are used in the material class.
- Lambertian BRDF
- Specular BRDF: Used for specular reflections
- Glossy BRDF: Used for glossy reflections.
- Disney BRDF: Implemented the Disney BRDF
Each of this has 3 main functions.
sample_fwhich samples a reflected light vector in the corresponding lobe.pdfThis returns the probability density function of the samples. Used for Monte Carlo estimator.evalThis evalutate the BRDF.
Matte This material has no specular highlights and has the following parameters
- cd diffuse color
- kd diffuse factor
for direct illumination it has also ambient parameters
- ca ambient color
- ka ambient factor
Phong Has the same values as matte but it has an extra specular component.
- ks specular intensity
- cs specular color
- e specular exponent, the higher values the sharper the specular reflection.
Mirror Perfect mirror reflections. It has the same parameters as Phong but with extra specular reflection component.
- ks reflection intensity
- cs reflection color
Glossy Glossy reflections. It has the same parameters as Phong but with extra glossy reflection component.
- ks reflection intensity
- cs reflection color
- e specular exponent, the higher values the sharper the reflection.
Disney This material is an implementation of the Disney BRDF
- baseColor
- metallic
- subsrface
- specular
- roughness
- specularTint
- sheen
- sheenTint
- clearcoat
- clearcoatGloss
For more information I refer to the Disney BRDF paper.
I provided a simple make file that compiles the code to an executable.
- Run
makethis creates a raytracer executable
There are 2 ways of rendering an immage. The first way is render the complete image. Then use ./raytracer OUT_FILE_NAME NUM_THREADS where NUM_THREADS is replaces with the number of threads and OUT_FILE_NAME the output file without exention. An other way is rendering a part of the image. Then you can specify the start pixel and end pixel as follows: ./raytracer NUM_THREADS OUT_FILE_NAME start_width end_width start_height end_height.
The output will be the OUT_FILE_NAME.png